Chunky Brownie Cookie Bars
Highlighted under: Fruit Desserts | Pies & Crisps
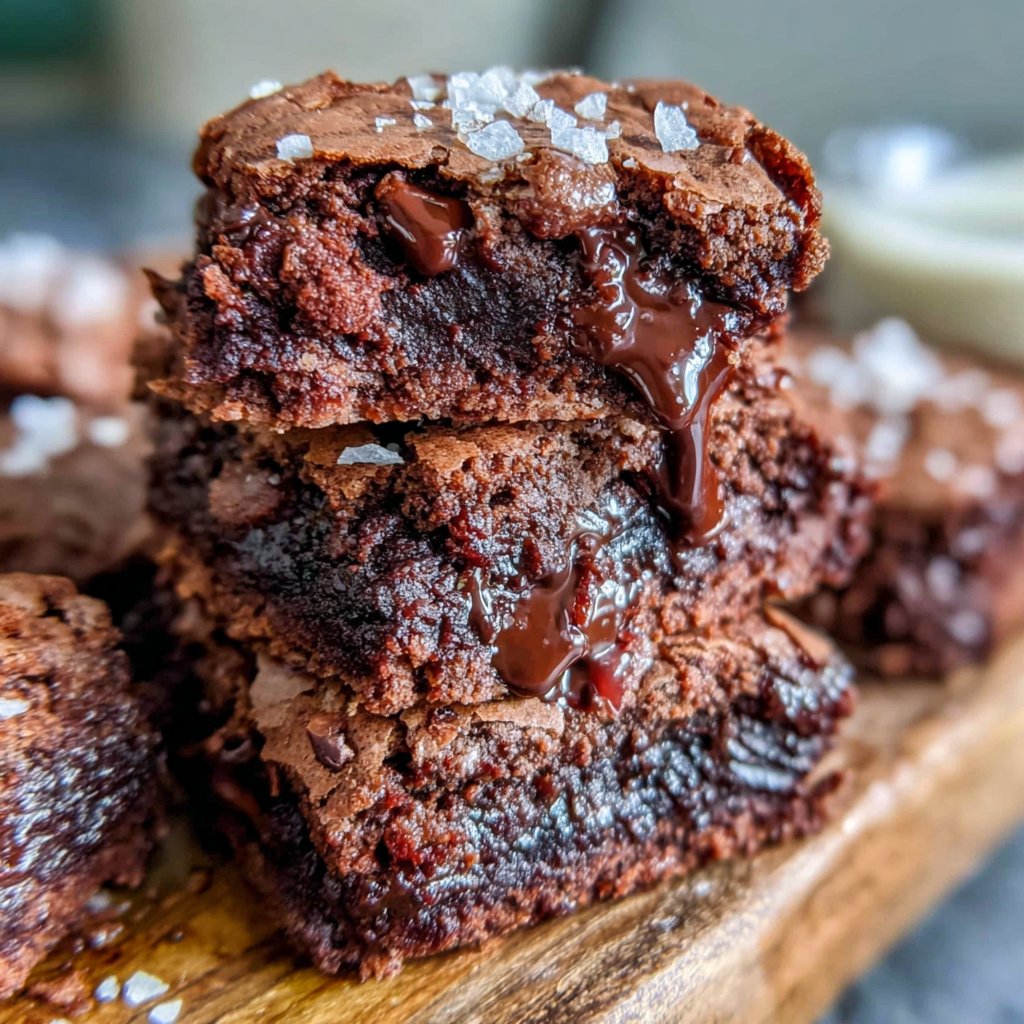
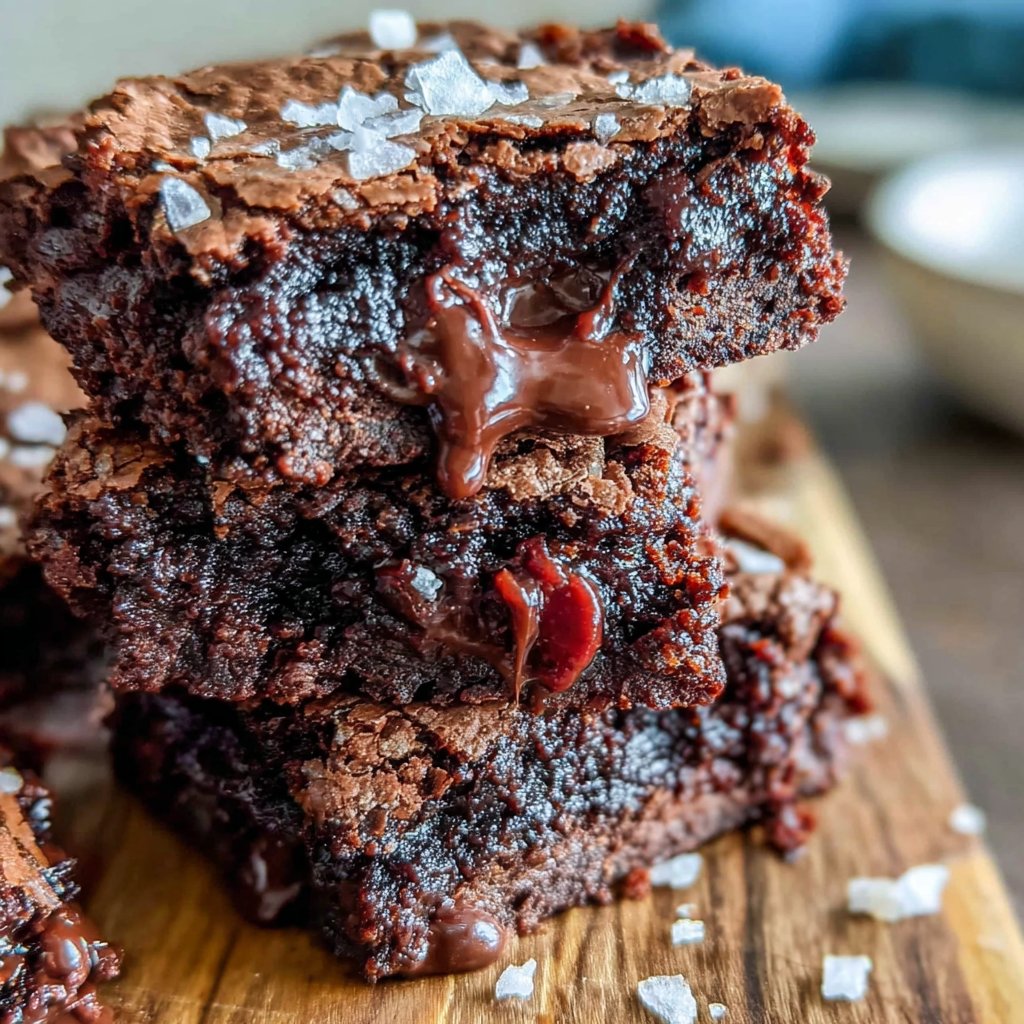
Honestly, I'm not one to bake desserts from scratch very often, but these chunky brownie cookie bars have changed that. They are rich, gooey, and have a great chocolatey kick without being too heavy. Plus, they're super easy to make, so it's really just about mixing the ingredients and waiting for them to bake. The whole thing runs about $8, which feels like a steal for how satisfying these bars are.
I remember the first time I tried making a dessert like this, it was a total mess, but these cookie bars were surprisingly straightforward. The blend of brownie and cookie just works so well, and if you have kids or friends around, you can bet they’ll devour them in no time.
One tip I discovered is to use a mix of chocolate chips and chunks to give it that enticing texture. Don’t skimp on the salt, either; it makes the chocolate taste even richer. Honestly, I might double the batch next time, because they disappeared in a flash!
What I Love About This
- The texture is both chewy and soft
- They stay fresh for days – if they last that long
- Only one bowl needed for mixing
Key Technique for Chunky Brownie Cookie Bars
One key step for these brownie cookie bars is in how you mix the ingredients. When you combine the wet and dry ingredients, aim for just enough mixing to combine everything. Overmixing can lead to a denser texture, which isn’t what you’re after here. Just stir until you don’t see dry flour anymore, then gently fold in the chocolate chips and chunks.
Also, keep an eye on your baking time. The bars should come out of the oven when they’re set around the edges but still a bit soft in the center. If you pull them too soon, they might not hold their shape after cooling, but if you overbake, you’ll lose that lovely gooey texture. A toothpick test is your best friend here.
Swaps & Substitutions
If you’re out of unsalted butter, using salted butter works fine too; just skip the added salt in the recipe. As for the types of chocolate, feel free to experiment with milk chocolate or even white chocolate chips if that’s more your style. I’ve tried these with different kinds, and they all turn out delicious, though the taste will vary a bit.
In terms of flour, if you're looking to make this gluten-free, I’ve had success using a 1:1 gluten-free flour blend. Just make sure it includes xanthan gum, which helps mimic the structure that regular flour provides. No one wants crumbly cookie bars!
Ingredients
Gather these simple ingredients before you start:
For the Cookie Bars
- 1 cup unsalted butter, softened
- 2 cups brown sugar, packed
- 2 large eggs
- 2 teaspoons vanilla extract
- 2 1/4 cups all-purpose flour
- 1/2 teaspoon baking soda
- 1/2 teaspoon salt
- 1 cup semi-sweet chocolate chips
- 1 cup chocolate chunks
Instructions
Follow these steps for making the bars:
Preheat the Oven
Start by preheating your oven to 350°F (175°C). Grease a 9x13-inch baking pan with a little butter, or line it with parchment paper for easy removal later.
Mix the Wet Ingredients
In a large bowl, beat the softened butter and brown sugar together until smooth. It should look creamy and a bit fluffy. Add the eggs one at a time, mixing well after each addition, then stir in the vanilla extract.
Combine Dry Ingredients
In another bowl, mix the flour, baking soda, and salt. Then, slowly add this dry mixture into the wet ingredients, stirring until just combined. I usually do this step carefully to avoid flour flying everywhere.
Add the Chocolate
Fold in the chocolate chips and chunks. Make sure they’re evenly distributed. The batter will be thick, and you'll want to make sure you don't leave just chocolate bits at the bottom.
Bake
Pour the batter into the prepared baking pan and spread it evenly. Bake for about 25 minutes, or until a toothpick inserted in the center comes out with a few moist crumbs. Keep an eye on it, as you don’t want to overbake.
Cool and Cut
Let the bars cool in the pan for about 10 minutes, then transfer them to a wire rack to cool completely. Once they’re cooled, cut them into squares and enjoy!
Pro Tips
- These bars taste even better the next day, so consider making them ahead of time.
- If you love nuts, feel free to add a cup of chopped walnuts or pecans into the batter.
- For an extra treat, drizzle some melted chocolate on top once they cool.
Scaling Chunky Brownie Cookie Bars for a Crowd
If you want to double this recipe for a bigger crowd, it works well in a larger baking pan, like a 12x18-inch sheet pan. Just keep an eye on the baking time, as you might need to add a few extra minutes. I suggest checking them at 25 minutes and then every couple of minutes until they’re set around the edges.
Another thing to consider is the cooling time. With a larger batch, you might find they cool down differently, so allow for them to rest a bit longer in the pan before transferring to a wire rack. Cutting them into smaller squares can also help them cool quicker and makes them easier to handle while serving.
Questions About Recipes
→ Can I use a different type of flour?
You can, but it might change the texture a bit. I usually stick with all-purpose for the best results.
→ What if I don't have chocolate chunks?
No big deal! Just use more chocolate chips or even some chopped chocolate bars in a pinch.
→ How long do these keep?
They can last about a week in an airtight container, but let’s be real, they’ll probably be gone within a couple of days.
→ Can I freeze these?
Absolutely! Just make sure to wrap them tightly in plastic wrap and then store them in a freezer bag. They should be good for about 2-3 months.
Chunky Brownie Cookie Bars
Created by: The Foodstoryline Team
Recipe Type: Fruit Desserts | Pies & Crisps
Skill Level: Beginner
Final Quantity: 16.0
What You'll Need
For the Cookie Bars
- 1 cup unsalted butter, softened
- 2 cups brown sugar, packed
- 2 large eggs
- 2 teaspoons vanilla extract
- 2 1/4 cups all-purpose flour
- 1/2 teaspoon baking soda
- 1/2 teaspoon salt
- 1 cup semi-sweet chocolate chips
- 1 cup chocolate chunks
How-To Steps
Start by preheating your oven to 350°F (175°C). Grease a 9x13-inch baking pan with a little butter, or line it with parchment paper for easy removal later.
In a large bowl, beat the softened butter and brown sugar together until smooth. It should look creamy and a bit fluffy. Add the eggs one at a time, mixing well after each addition, then stir in the vanilla extract.
In another bowl, mix the flour, baking soda, and salt. Then, slowly add this dry mixture into the wet ingredients, stirring until just combined. I usually do this step carefully to avoid flour flying everywhere.
Fold in the chocolate chips and chunks. Make sure they’re evenly distributed. The batter will be thick, and you'll want to make sure you don't leave just chocolate bits at the bottom.
Pour the batter into the prepared baking pan and spread it evenly. Bake for about 25 minutes, or until a toothpick inserted in the center comes out with a few moist crumbs. Keep an eye on it, as you don’t want to overbake.
Let the bars cool in the pan for about 10 minutes, then transfer them to a wire rack to cool completely. Once they’re cooled, cut them into squares and enjoy!
Extra Tips
- These bars taste even better the next day, so consider making them ahead of time.
- If you love nuts, feel free to add a cup of chopped walnuts or pecans into the batter.
- For an extra treat, drizzle some melted chocolate on top once they cool.
Nutritional Breakdown (Per Serving)
- Calories (kcal): 210
- Total Fat (g): 10
- Saturated Fat (g): 6
- Cholesterol (mg): 40
- Sodium (mg): 110
- Total Carbohydrates (g): 29
- Dietary Fiber (g): 1.2
- Sugars (g): 18
- Protein (g): 2.5